Gold makeup is a popular trend for weddings. It can add a touch of glamour and elegance to your look. This blog post will show you how to apply gold eye shadow to achieve a beautiful wedding look. We will also give you tips on choosing the right shade of gold for your skin tone. So read on to learn more!
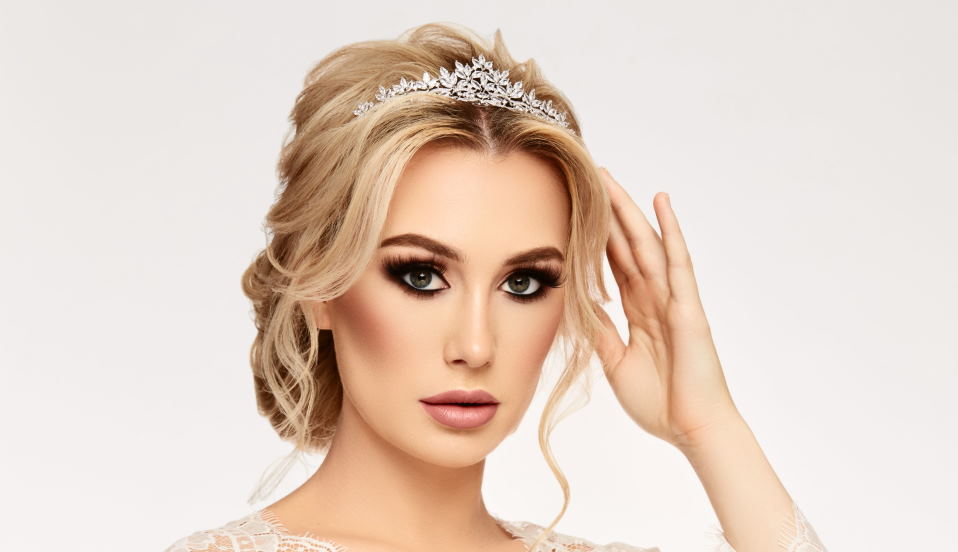
Wedding golden makeup tutorial
When it comes to your wedding makeup, why not add a touch of glamour with some gold eye shadow? Gold eye shadow can make your eyes pop and help you create a stunning bridal look. Here are some tips on how to add gold eye shadow to your wedding makeup:
 Choose the right shade of gold. When picking a gold shadow, choose one that compliments your skin tone. For example, opt for a light gold shade if you have fair skin. On the other hand, if you have medium or dark skin, go for a deeper, richer gold hue.
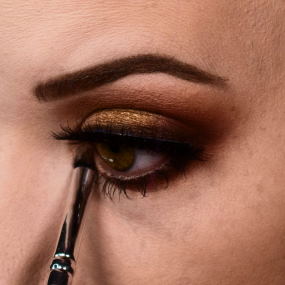
- Apply your shadow correctly. When applying gold shadow, use a fluffy brush to blend the color into your crease and along your lash line. Then, use a smaller brush to apply the shadow directly to your lid. For a more intense look, wet your brush before applying the shadow.
- Add some gold liner. Add some gold liner to your lower lash line to make your eyes stand out. This will help brighten up your eyes and make them pop.
- Pair with other colors. Gold shadow looks great when paired with other colors, like bronzes, browns, and pinks. So don’t be afraid to experiment with different shades and colors to create a unique look that is all your own.
Following these tips, you can easily add glamourous gold eye shadow to your wedding makeup and create a truly stunning look.
Golden glitter eye makeup
 Add some gold glitter to your lids to complete your glittery eye makeup look. For a subtle sparkle, use a gold eyeshadow or eyeliner. If you want a more dramatic effect, apply loose gold glitter with an adhesive. Start applying the adhesive to your lid, then press the glitter onto the wet adhesive. Finish by patting the glitter in place with your finger. Add more adhesive and glitter until you’re satisfied with the coverage. To remove the glitter, use a cotton pad soaked in makeup remover.